How to build a Speaker Hi-Fi cable? Subscribers to our newsletter may have noticed that for some time now Ricable has begun posting on YouTube video content. Regarding the brand Ricable Custom, the videos mainly consist of step-by-step tutorials you can follow to build the Hi-Fi cable you want at home. Filled with tips and warnings, we are sure they will be a great resource for newbies as well as a pleasant review for veterans. The first playlist of videos, already fully posted, is the one devoted to Speaker cables or speaker cables.
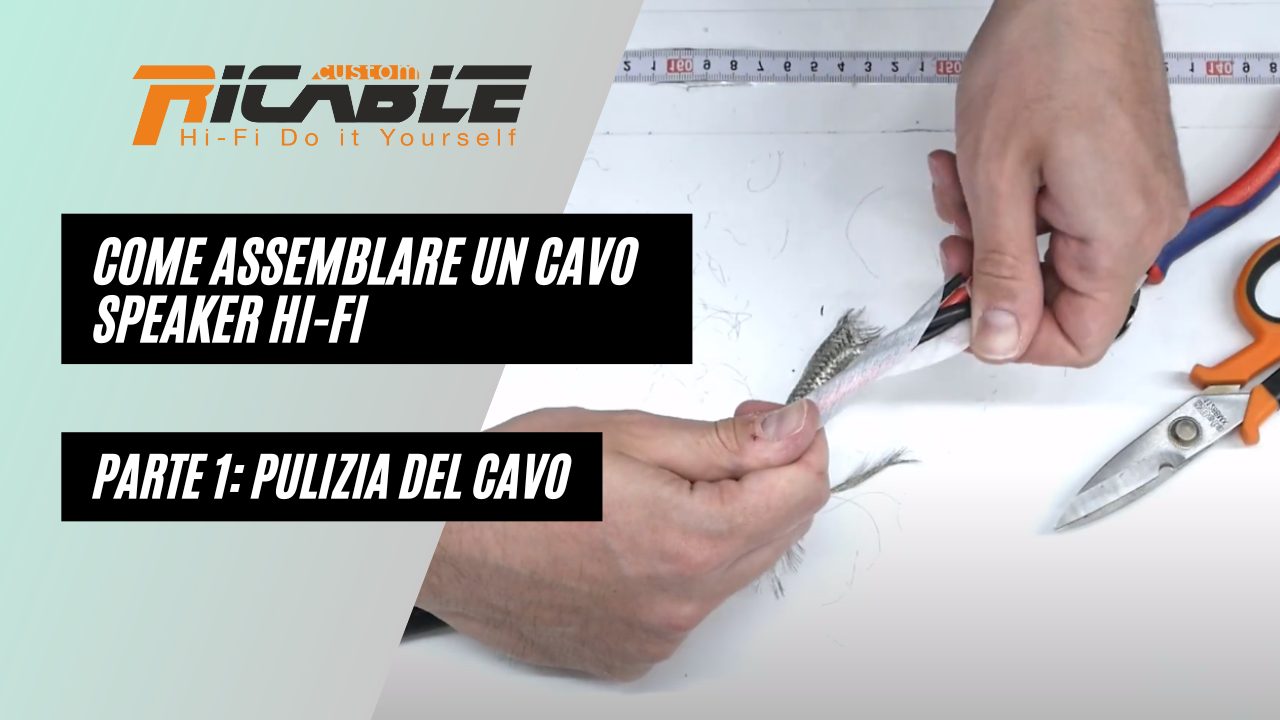
Cable cleaning
The first video about how to build a Hi-Fi speaker cable Speaker is dedicated to cleaning it (in this case we are talking about the cable Custom Speaker H6S). Before moving on to the full-fledged assembly phase, in fact, we will have to carry out a series of preliminary operations, aimed mainly at removing superfluous components to leave the conductors "free". This is an important step and one that should not be underestimated, having to pay attention to what is done with the tinned copper braid and nonwoven fabric. Finally, care must be taken in removing the PVC insulating tubing, not to be confused with the black conductor. With that done, one must move on to cable stringing.
Tamping
The second episode of the Ricable Custom series on cables Speaker focuses on cable pressing. The socks we will use, taken directly from the Custom catalog, are double polyethylene, traced and spun. With these we have to pay proper attention when we get to the cable, so as not to push or pull the sock and thus ruin it. In this regard, the correct technique to use is the "worm movement," which is well illustrated in the video shown here. To finish the cable pressing operation, we will use a thermal blade by cutting along the edge of the insulation tape, applied earlier to hold the mark. We can then proceed to the third and final step.
Finishes and connections
All that remains is to move on to the third and final phase of the video tutorial, focusing on finishes and connections. The first finish applied is the "Y" shaped rubber sleeve, which is useful to protect and stabilize the conductors. For the second finish, it is good to use a heat shrink sleeve that will block the sleeve. Finally we complete the work with a heat gun, without exaggerating with the temperature to avoid causing damage, and a cable stripper to remove a part of dielectric; after that we can apply our banana connections. Alternatively, we can use a different termination, namely the fork, this one, however, not currently in our catalog.
Here is our cable Speaker
Our Hi-Fi speaker cable is finally ready for use. It only remains for us to wish you good listening with your latest realization and to invite you to follow the upcoming productions that will be posted on the Ricable YouTube channel, which can be easily reached by clicking on the button below. By selecting the button further down, however, you can take a quick look at the entire catalog Ricable Custom.

